It’s easier than you think to host your own virtual tabletop game server
Are you a tabletop roleplaying game enthusiast like me? If so, by all means, read on. I’ve been playing a range of these kinds of games since I was in high school and while I’m always a fan of “theater of the mind” style roleplaying, I can appreciate the value a good map or visual aid can have.
One thing they don’t tell you when you’re a kid: there’s nothing harder than scheduling a group of adults to regularly get together for any kind of activity – especially when they live all over the country. One of the good sides of the COVID pandemic was the explosive growth in communication and collaboration tools for hobbies of all types, including tabletop roleplaying.
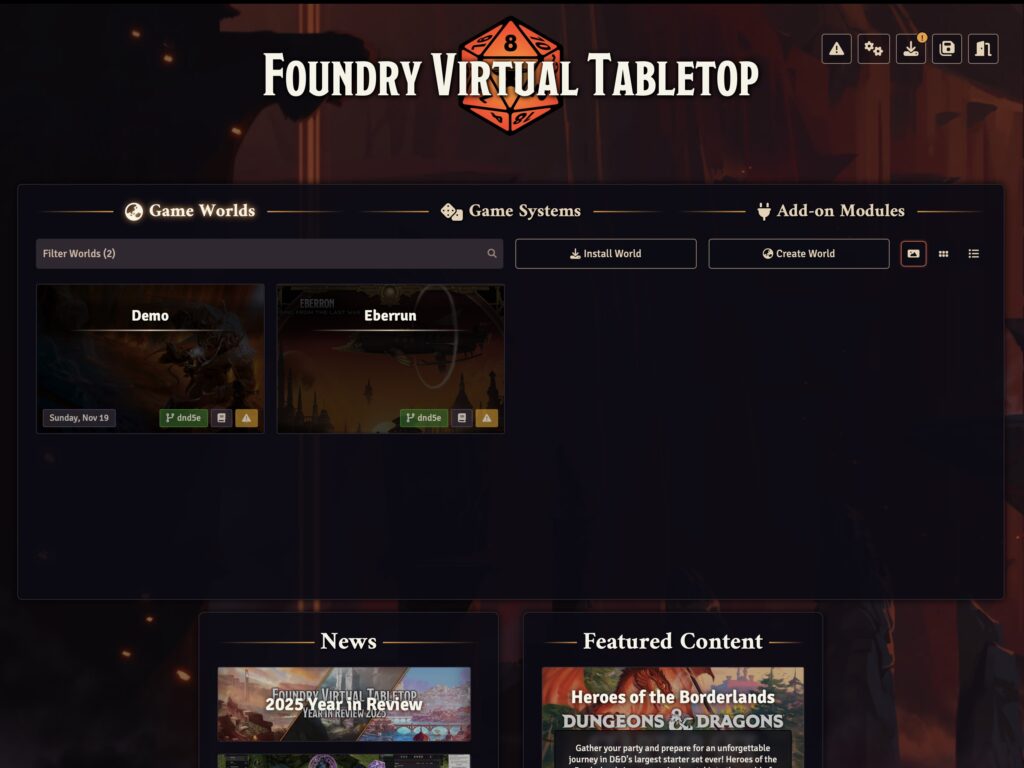
While there are a few on the market, most are focused on locking you into their servers with their content. While it can make for ease of use, I don’t like getting tied down like that. Enter: Foundry VTT.
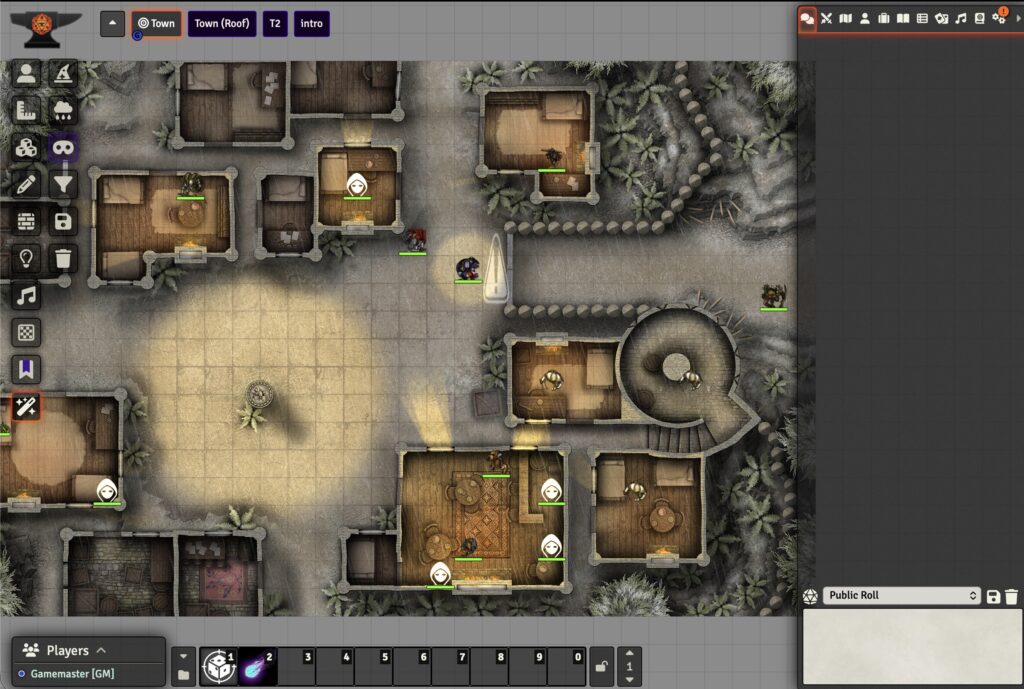
I won’t spend too much time trying to sell gamers on Foundry. It’s easily one of the best virtual tabletop systems I’ve ever played with. It’s got tons of support for various gaming systems and an extensive open source community. The graphical capabilities are gorgeous and developing/modifying modules for your own games is extremely user-friendly. While there are some great services out there that will host it for you (like The Forge), that’s not nearly as much fun.
In addition to hosting my own instance of Foundry, I also wanted to offer separate instances for my friends. One of the limitations of Foundry is that it can only be actively running one game at a time. You need additional instances/licenses for every simultaneous game you want access to. Furthermore, I wanted a way for multiple users to share certain data, like maps and music.
Let’s Make a Server
First, I needed the normal stuff for self-hosting:
- A computer (or virtual machine) to host Linux-based software to act as the server
- A static IP address or solid dynamic DNS service
- A domain name pointing to that IP address
- A router with ports 80 and 443 opened and forwarding those requests to your server’s IP address
In my case, I’ve got a virtual machine on my household server hosting Ubuntu for web servers. I do not have a graphical user interface running; I’m pretty comfortable working in the command line. I installed the following software:
- Node.js – required for running Foundry
- Pm2 – helpful for managing node.js applications
- Caddy – a super-simple web hosting platform as an alternative to software like Nginx or Apache. It will automatically get signed certificates and bounce all insecure connections (http) to secure (https) without any additional configuration
- Resilio Sync – a great program for allowing users to upload and manage their instance’s files without direct access
To configure Caddy, navigate to your Caddyfile. It will typically be located in /etc/caddy/
I updated the Caddyfile by adding the following using a text editor:
subdomain1.domain.com {
				reverse_proxy localhost 30001
			}
This will tell all port website requests that come to your server (regardless of port) to go to port 30000. Remember how I wanted multiple instances running at the same time? My Caddyfile looks more like this:
subdomain1.domain.com {
				reverse_proxy localhost 30001
			}
			subdomain2.domain.com {
				reverse_proxy localhost 30002
			}
			subdomain3.domain.com {
				reverse_proxy localhost 30003
			}
			subdomain4.domain.com {
				reverse_proxy localhost 30004
			}
Obviously, you’ll want the domain to be whatever domain you’re using. I named each of the subdomains after the users, but you can do whatever you want. The actual port number doesn’t matter, but I recommend being consistent and checking to make sure it doesn’t conflict with any other services running on your server. Usually extremely high numbers are fine. Restart Caddy by running the following:
sudo systemctl reload caddyConfigure node.js
Installing node.js, PM2, and downloading the FoundryVTT software is really well documented on Foundry’s website here and PM2 is documented here. Below is how I configured it to handle the multiple instances.
First, I added a directory into my home directory for each instance. To make it easy, I just named each one after its subdomain like so:
mkdir subdomain1.foundrydata subdomain2.foundrydata subdomain3.foundrydata subdomain4.foundrydataI ran the following node.js command to build the initial configuration files:
node foundrydata/resources/app/main.js --dataPath=$HOME/subdomain1.foundrydataOnce it has ran, you can safely close it with a CTRL+C. I needed to do this for each instance.
Configure Foundry
I now had foundrydata folders with all configuration files for each instance. Configuring is super-easy… I grabbed my favorite text editor and opened the subdomain1.foundrydata/Config/options.json file and updated the settings to the following:
	{
			  	"port": 30001,
			  	"upnp": true,
			  	"fullscreen": false,
			  	"hostname": “subdomain1.domain.com",
			  	"routePrefix": null,
			  	"sslCert": null,
			  	"sslKey": null,
			  	"awsConfig": null,
			  	"dataPath": “/home/username/subdomain1.foundrydata",
			  	"proxySSL": true,
			  	"proxyPort": 443,
			  	"minifyStaticFiles": false,
			  	"updateChannel": "release",
			  	"language": "en.core",
			  	"world": null
				}
In order to test my configuration, I ran the node.js command just like I did when we built Foundry’s configuration files with this:
node foundrydata/resources/app/main.js --dataPath=$HOME/subdomain1.foundrydataAt that point, I could type subdomain1.domain.com into my browser and should be able to bring up Foundry. Easy peasy! I then closed that node.js process and repeated the above configuration steps for each foundrydata instance.
Multitasking with PM2
Once I had all of my instances ready to run, I started running them in PM2 with the following commands:
pm2 stop all;
			pm2 del all;
			pm2 start "node foundrydata/resources/app/main.js --dataPath=$HOME/subdomain1.foundrydata" --name "Subdomain1.Foundry";
			pm2 start "node foundrydata/resources/app/main.js --dataPath=$HOME/subdomain2.foundrydata" --name "Subdomain2.Foundry";
			pm2 start "node foundrydata/resources/app/main.js --dataPath=$HOME/subdomain3.foundrydata" --name "Subdomain3.Foundry";
			pm2 start "node foundrydata/resources/app/main.js --dataPath=$HOME/subdomain4.foundrydata" --name "Subdomain4.Foundry";
			pm2 list;
At this point, each of my sites was accessible from the internet!
Sharing Means Caring
The last thing I wanted to do was to make it easy to upload and share assets across instances. Normally, each instance of Foundry has its own data folder. Through the power of symlinking, I can trick each of those instances into seeing a shared folder inside of its Data directory. First, I built it with the following command:
mkdir shared.foundrydataThen, I built the symlinks for each instance with the following command:
ln -s $HOME/shared.foundrydata $HOME/subdomain1.foundrydata/Data/sharedNow each of those instances of Foundry will individually see any assets located in that shared directory.
The last bit of housekeeping was finding a way to give each of my friends the ability to add or delete files from their Foundry without trying to give them direct access to the whole file system. For that I turned to Resilio Sync, a fantastic peer-to-peer file sharing application that also has an easy web-based interface (that I don’t have exposed to the internet). All I need to do is ensure each of my friends has a copy installed and give them the read/write key for their subdomain[x].foundrydata/Data folder and they can sync it to a local folder.
Conclusion
I’ve been running this setup pretty consistently for about four years now. There are two points to note:
- For whatever reason, sometimes PM2 doesn’t always restore all of the node.js instances on reboot. I wrote a simple bash script that I can quickly jump in and execute; it’s basically what you saw above saved as start_pm2.sh. It’s rarely an issue.
- If one user decides to update their Foundry core, it updates the core for all instances. Most of the time, this hasn’t been a big deal; we just ensure that everyone is ready to update before we do it. Sometimes Foundry updates can break a bunch of those amazing community-built plugins. Upgrade cautiously. If this is a real concern, it’s easy enough to copy additional Foundryvtt directories for each foundrydata folder.
For anyone wondering, the VM that runs all of this only has 2GB of memory and a single processing thread allocated to it. Most of Foundry’s processing happens on each of the client devices. It can be sensitive to bandwidth, of course. I’m running it on a wired server plugged into a switch with a 1 Gbps connection.
Let me know if you end up doing a similar project… or if you think there are ways I could improve on this!